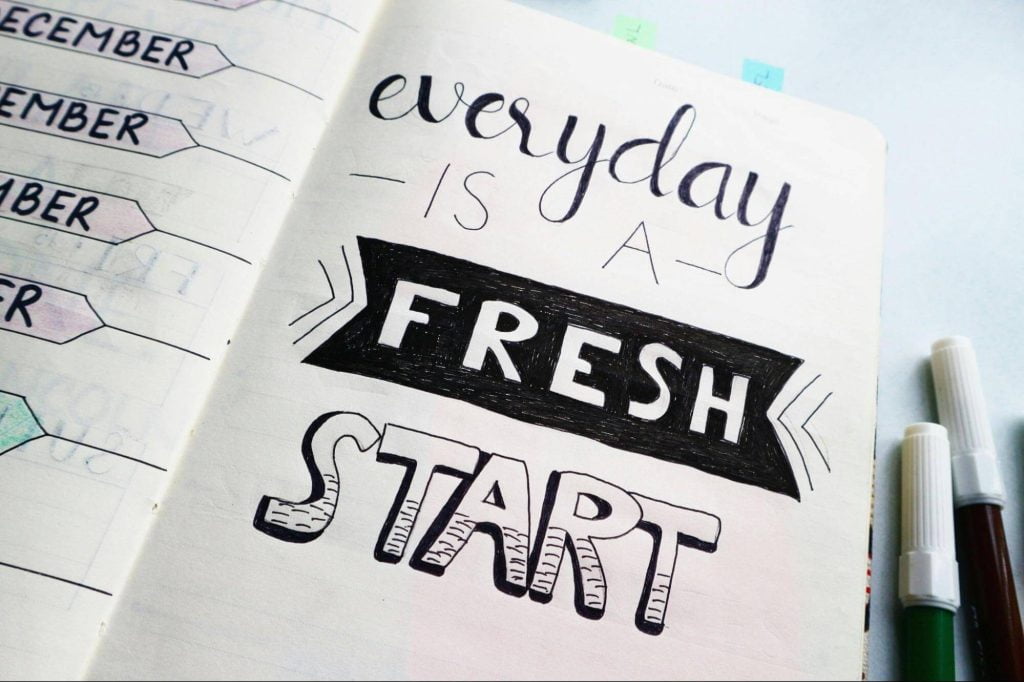
When it comes to skincare, consistency often matters more than the latest product or trend. But with ever-growing skincare shelves and TikTok routines going viral every day, it’s easy to feel overwhelmed. That’s why building your own skincare planner—tailored to your skin type, lifestyle, and goals—can transform not only your skin but also how you care for it.
A good skincare planner helps track what you use, how your skin responds, and when to adjust. Here’s how to build one that works long-term—and actually helps you see results.
Why a Skincare Planner is More Than Just a Tracker
Think of a skincare planner as your skin’s personal health log. It’s not just about recording products—it’s about:
- Spotting what’s working (or not)
- Preventing overuse of actives
- Avoiding mix-and-match mistakes
- Recognising triggers for breakouts or sensitivity
- Staying consistent even on busy days
Many dermatologists recommend journaling skincare routines because most product reactions or improvements appear gradually. A planner offers a clear picture, especially when troubleshooting flare-ups, seasonal dryness, or unexplained texture changes.
Step 1: Understand Your Skin’s Unique Needs
Before writing anything down, observe your skin honestly over 1–2 weeks without making any changes. Note how it feels:
- In the morning (oily? dry?)
- After cleansing (tight? balanced?)
- By evening (shiny? dull?)
- During your cycle or stress days (acne? redness?)
Now pair your observations with standard skin types:
- Oily: Shiny, frequent breakouts, large pores
- Dry: Flaky, dull, tight-feeling
- Combination: Oily in T-zone, dry elsewhere
- Sensitive: Reactive, stings easily, redness
- Balanced: Rarely breaks out, tolerates products well
This stage matters more than any product review—because even the best formula can backfire if it’s not suited to your skin.
Step 2: Define Your Skincare Goals
Your planner should reflect what you want to change or maintain:
- Short-term: Reduce blackheads, hydrate dry patches, soothe irritation
- Long-term: Fade acne scars, even out tone, soften fine lines, firm skin
Clarify these early so your routine stays focused. For example, if you want to fade hyperpigmentation, your planner should track vitamin C or niacinamide use—not just generic product steps.
Step 3: Build a Product List That Works for You
This is where a lot of people overcomplicate things. You don’t need 10+ steps—just a thoughtful mix of essentials and treatments:
Essentials:
- Gentle Cleanser – AM & PM (avoid foaming if dry/sensitive)
- Moisturiser – Ideally fragrance-free
- Sunscreen – Broad-spectrum SPF 30+ daily
Treatments (as needed based on goals):
- Exfoliant – AHA/BHA (1–2x a week max)
- Serum – Vitamin C for brightness, Retinol for ageing, Niacinamide for oil control
- Mask – Weekly reset or deep hydration
List your current products by name and note how your skin reacts after each use.
Step 4: Set Up Your Skincare Planner Layout
Whether you prefer digital (Notion, Google Sheets) or analog, include these columns:
- Date
- AM/PM routine
- Product names
- Skin condition rating (e.g., hydration, redness)
- Breakouts/reactions
- Menstrual cycle notes (if relevant)
- Weather/humidity (great for tracking seasonal changes)
For a pre-designed option, the Erin Condren undated planner allows customisation for tracking skincare, meals, mood, and more—all in one.
This post contains a sponsored link. Jusebeauty.co.uk is not affiliated with Erin Condren and may earn a commission if you make a purchase through the link at no additional cost to you.
Step 5: Create a Routine That’s Actually Sustainable
Start simple. Skincare that overwhelms often leads to skipping or abandoning routines altogether.
Here’s an example of a low-maintenance, high-result setup:
Morning
- Gentle Cleanser
- Antioxidant Serum (Vitamin C or Niacinamide)
- Lightweight Moisturiser
- Sunscreen
Evening
- Cleanser
- Hydrating Toner (optional)
- Treatment Serum (rotate based on needs)
- Moisturiser or Overnight Mask
Log these steps daily with notes like “skin felt tight after toner” or “woke up glowing.”
Step 6: Track Weekly Results & Adjust Accordingly
Your planner should reveal patterns after 2–3 weeks. Look for:
- Increased hydration
- Fewer breakouts or reduced redness
- Changes in how your skin feels after applying a product
If something’s not working, the data will show it. For example, if dry patches return every time you exfoliate twice a week, scale back to once.
Tracking also helps prevent “skincare hopping,” where you switch products too fast to see true results.
Step 7: Maintain Consistency with Small Rituals
Use cues like brushing your teeth or winding down before bed to make skincare part of your routine. Set reminders if needed.
If motivation drops, remind yourself: You’re not just putting on products—you’re building a habit that gives your skin long-term resilience.
Bonus: Tips That Keep You on Track
- Patch test all new products. Your planner can help monitor how your skin reacts after 24–48 hours.
- Introduce one active at a time. Avoid using retinol and acid exfoliants on the same night.
- Use visuals. Add emojis or symbols in your planner to flag “irritation,” “breakout,” or “glow day.”
- Celebrate progress. Jot down a compliment you received or a day you felt confident without makeup.
Final Thoughts
A skincare planner isn’t just about routine—it’s about creating a relationship with your skin. When you track what you use, how your skin responds, and when changes happen, you’re in control. Over time, your planner becomes a map that leads you to better skin, fewer frustrations, and smarter beauty decisions.
Whether you design your own or use a ready-made journal, the key is consistency, observation, and gentle course correction. You’re not aiming for perfection—you’re aiming for progress.

