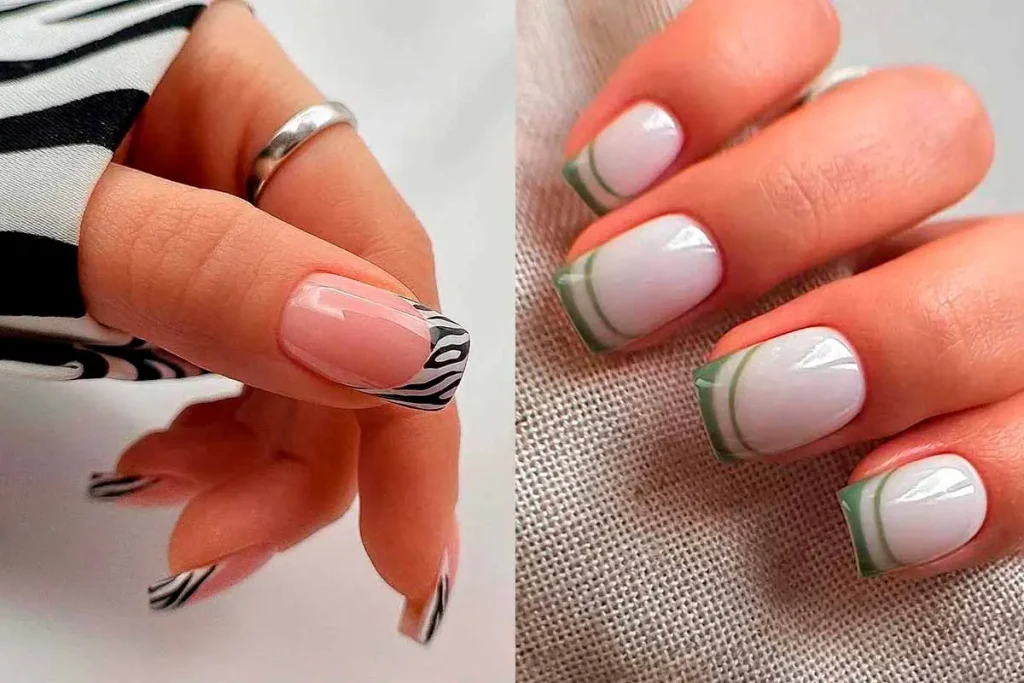
The growing trend of DIY nail art allows individuals to achieve salon-quality nails from the comfort of their homes. With the availability of innovative products, anyone can experiment with intricate designs. This guide will introduce essential tools and techniques for creating flawless manicures.
In recent years, DIY nail art has become increasingly popular, transforming home beauty routines into creative outlets. As more individuals seek to replicate sophisticated salon looks, the demand for user-friendly nail products has surged. Among these, innovative options like Lehmani gel nail stickers have revolutionized the approach to manicures, offering a straightforward method to achieve professional results. These products are favored for their ease of use and impressive outcomes.
The basics of nail art
Nail art is an exciting form of self-expression that requires only a few essential tools to begin. For beginners, it is important to have a basic set that includes items such as nail files, buffers, cuticle pushers, and high-quality nail polish. These tools are crucial for prepping your nails and ensuring a smooth base for any design you choose to apply. Proper preparation can significantly enhance the durability and appearance of your nail art.
Additionally, maintaining healthy nails through regular care is vital. Ensure you keep your nails clean and moisturized and avoid harsh chemicals that could weaken them over time. Proper nail care sets the foundation for any stunning design you wish to create, allowing your artistic endeavors to last longer and look more professional.
Many people find that simple, yet stylish designs are ideal starting points for new DIY artists. Utilizing products like gel nail stickers can simplify this process by providing pre-designed patterns that are easy to apply.
Introducing gel nail stickers
For those who are hesitant about diving into intricate freehand designs, gel nail stickers offer an excellent alternative. These stickers are designed to be user-friendly, requiring no special skills or professional training to apply effectively. They come in a wide variety of styles and patterns, allowing you to select designs that suit your personal taste or fit specific occasions effortlessly.
One major benefit of using these gel stickers is the time they save while still achieving a polished look. Instead of spending hours perfecting each stroke with a brush, these stickers can be applied within minutes with consistent results every time. This ease of use makes them particularly appealing for individuals with busy schedules who still want to enjoy beautifully decorated nails.
Beyond convenience, gel nail stickers also cater to creative expression. You can mix and match different designs across your nails or accentuate certain fingers with bolder patterns for a more unique touch. This flexibility allows you to personalize your manicure while exploring various aesthetics without committing to one style permanently.
Step-by-step guide to DIY nail art
Applying gel nail stickers is a straightforward process that even beginners can master quickly. Start by cleaning your nails thoroughly and buffing them slightly to ensure smooth application surfaces. Once prepped, select the sticker size that best fits each nail and carefully peel it from its backing using tweezers.
Align each sticker just above the cuticle line before pressing down gently but firmly across its surface toward the tip of your finger — this ensures an even application without air bubbles trapped underneath. If necessary, trim any excess using small scissors or a file until each sticker sits perfectly on your nails.
Finally, cure everything under a UV lamp; this helps protect against everyday wear-and-tear damage, making them more durable! Customize further by adding tiny embellishments like rhinestones or glitter accents around certain areas if desired — these subtle additions make all difference when elevating overall design!
Maintaining salon-quality nails
The key to long-lasting DIY nail art lies in diligent aftercare practices which preserve appearance longevity post-application session itself afterward too! Avoid exposing hands unnecessarily harsh environments such as cleaning products directly touching surfaces whenever possible; instead opt gloves whenever tasks require protection provided effectively safeguard delicate artistry underneath them always best practice remain mindful daily activities involving hands generally speaking here folks!
Avoid submerging fingernails water extended periods time since moisture weakens adhesive bonds between natural surface artificial layers applied atop – drying promptly towel following exposure prevents potential damage occurring prematurely beyond control otherwise preventable altogether initially taken precautions earlier mentioned context matter discussed previously herein quite extensively already indeed true enough, yet additional reminders never hurt anyone anyway, right?

