Removing gel manicures at home can be a daunting task, especially if you’re worried about damaging your natural nails. However, with the right tools and techniques, you can safely and effectively remove gel polish without compromising your nail health. This comprehensive guide will walk you through the steps and provide expert tips to ensure your nails remain healthy and strong.
Why Proper Gel Removal Matters
“Removing gel manicures at home requires patience and the right technique to avoid damaging your natural nails,” says Dr. Dana Stern, Dermatologist and Nail Specialist (Source: The Zoe Report).
Gel manicures are popular because they are long-lasting and chip-resistant. However, improper removal can lead to nail thinning, brittleness, and other issues. Following the correct procedure helps maintain the integrity of your nails and prevents unnecessary damage.
Tools You’ll Need
Before you start, gather the following items:
- Acetone: Pure acetone is essential for dissolving gel polish.
- Cotton Balls or Pads: These will hold the acetone against your nails.
- Aluminum Foil: Cut into small squares to wrap around your fingers.
- Nail File: For gently buffing the top layer of gel polish.
- Cuticle Pusher or Orange Stick: To gently remove the softened gel polish.
- Cuticle Oil or Cream: To hydrate your nails and skin after removal.
Step-by-Step Guide to Removing Gel Polish
1. File the Top Layer
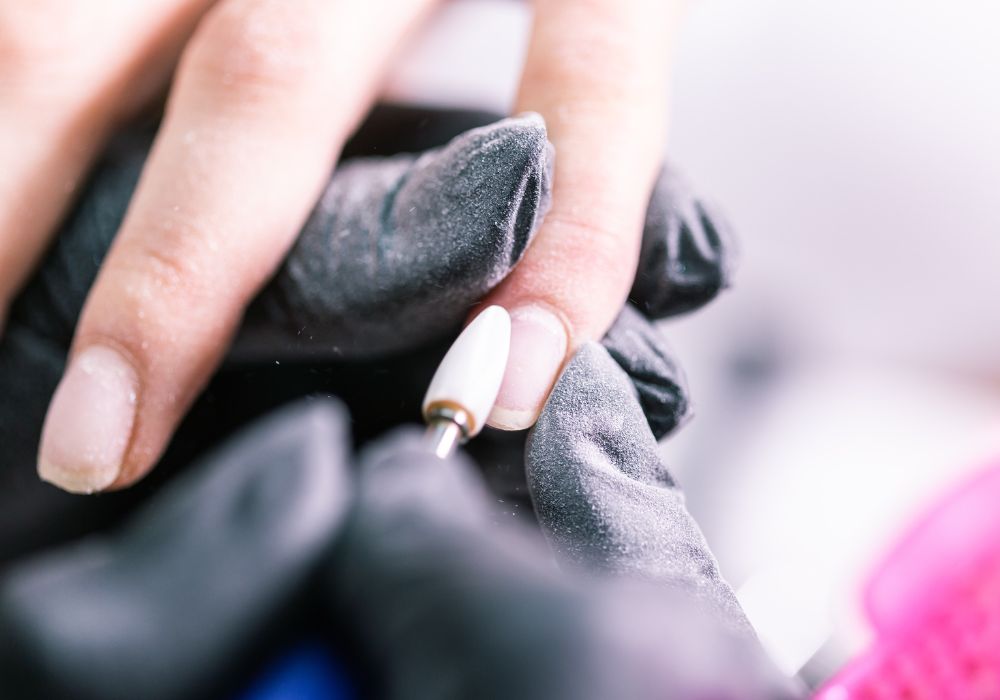
Start by gently filing the top layer of your gel polish. This helps the acetone penetrate the polish more effectively. Use a coarse nail file and file until the shiny top coat is removed.
Personal Anecdote: I remember the first time I attempted to remove my gel polish at home without filing the top layer. It took forever to soak off! Filing the top layer makes a huge difference and speeds up the process significantly.
2. Soak Cotton Balls in Acetone
Soak cotton balls or pads in pure acetone. Acetone is the key ingredient for dissolving gel polish, but it can be drying to your nails and skin. “Acetone is the key ingredient for dissolving gel polish, but it can be drying to your nails and skin. Always use a hydrating cuticle oil or cream after removal to replenish moisture,” advises Rita Remark, Essie Global Lead Educator (Source: Essie).
3. Apply and Wrap
Place the soaked cotton ball or pad on top of your nail and wrap it tightly with a small piece of aluminum foil. This helps keep the acetone in contact with the gel polish and prevents it from evaporating.
4. Wait Patiently
Allow the acetone to work for about 10-15 minutes. This step requires patience. Avoid the temptation to peel or pry off the polish. “Don’t peel or pry off gel polish, as this can cause your nails to become weak and brittle. Follow the proper steps for removal to maintain healthy nails,” says Michelle Saunders, Beauty Blogger (Source: All Lacquered Up).
5. Gently Push Off the Gel
After soaking, use a cuticle pusher or an orange stick to gently push off the softened gel polish. Start at the cuticle and push towards the tip of your nail. If the polish doesn’t come off easily, re-wrap and soak for a few more minutes.
6. Buff and Shape
Once the gel is removed, gently buff your nails to remove any remaining residue. Shape your nails with a nail file, being careful not to over-file and cause damage.
7. Hydrate and Moisturize
Finish by applying cuticle oil or cream to rehydrate your nails and surrounding skin. This step is crucial as acetone can be very drying. “Investing in a good quality nail file and cuticle pusher can make the gel removal process much easier and gentler on your nails,” recommends Naomi Yasuda, Celebrity Manicurist (Source: Into the Gloss).
Tips for Maintaining Healthy Nails Post-Removal
Hydration is Key
Regularly apply cuticle oil or cream to keep your nails and cuticles hydrated. This helps prevent dryness, cracking, and hangnails.
Avoid Over-Polishing
Give your nails a break between gel manicures to allow them to recover and breathe. Consider using a strengthening base coat or nail hardener during this period.
Protect Your Nails
Wear gloves when doing household chores or using harsh chemicals to protect your nails from damage and dryness.
Seek Professional Help
“If you’re unsure about removing your gel manicure at home, it’s always best to consult a professional nail technician. They can safely remove the polish and offer advice on how to maintain healthy nails,” advises Dr. Chris Adigun, Dermatologist and Nail Specialist (Source: American Academy of Dermatology).
Personal Insights and Tips
Finding the Right Products
I found that using pure acetone made the process much quicker and more effective. While it can be harsh on the skin, following up with a good cuticle oil really helps.
Staying Patient
The first few times I removed my gel polish at home, I was impatient and tried to rush through the steps. I quickly learned that patience is key to avoiding damage and keeping my nails healthy.
Conclusion
Removing gel manicures at home can be done safely and effectively with the right tools and techniques. By following these steps, you can maintain the health and integrity of your nails while enjoying the convenience of at-home gel removal.
“Removing gel manicures at home requires patience and the right technique to avoid damaging your natural nails,” says Dr. Dana Stern, Dermatologist and Nail Specialist (Source: The Zoe Report).
Remember, the goal is to be gentle and patient throughout the process. With practice and proper care, you can keep your nails looking beautiful and healthy, even between salon visits.

