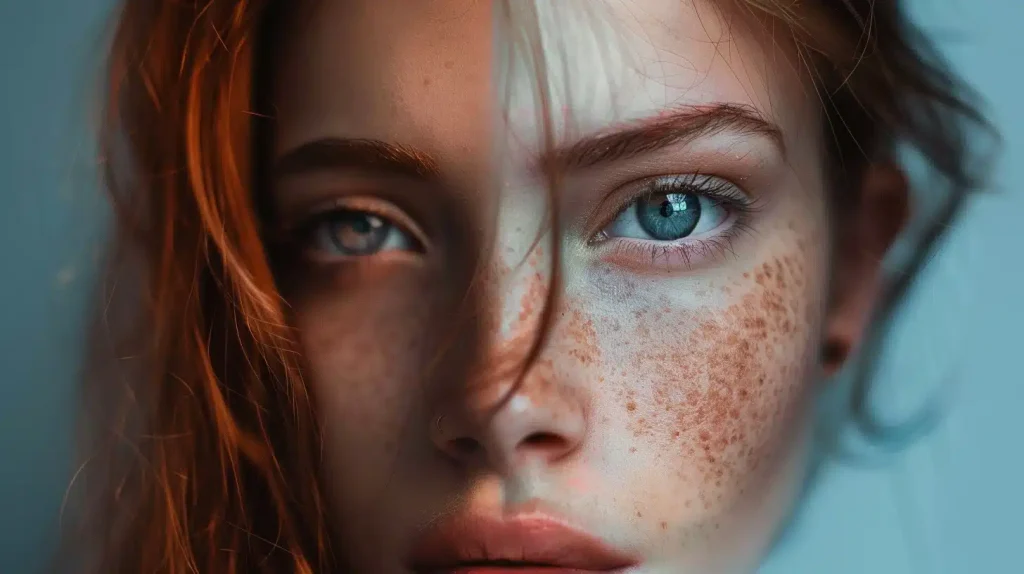
Skin retouching has become vital for photographers willing to achieve professional-grade results. Whether you are a seasoned pro or a hobbyist, you must know how to enhance your model’s most prominent features without sacrificing their natural beauty. Subtle enhancements, like evening-out skin tone and accentuating natural features, can transform an image into a polished masterpiece without compromising your subject’s personal charm and individuality.
This guide includes relevant and applicable portrait editing tips, techniques, and tools. It explains how to achieve stunning results while avoiding common pitfalls in portrait retouching.
The Foundations
Blemish Removal
Begin with small, targeted adjustments to ensure distractions like blemishes or uneven patches do not overshadow the picture’s main idea. A healing brush or a stamp tool can eliminate obvious drawbacks like pimples or stray hairs without affecting the natural skin texture and pores. Prioritize manual adjustments over automatic ones for more precise control. Paint over minor inconsistencies, ensuring every edit is tailored to the individual portrait.
Tone Modifications
Selective color editing allows you to target specific tones in the portrait, such as reducing redness in the skin or enhancing cooler tones in the shadows. Gradient mapping can transform the tonality of your portrait, creating a cohesive color scheme without altering the snake tone.
For uneven skin tones, opt for frequency separation. Dividing an image into two layers will let you modify texture and colors separately, giving you greater control over the most sophisticated details. Blending modes like “Soft Light” or “Overlay” can create natural tone transitions. These modes are particularly useful when adding subtle color corrections or enhancing highlights and shadows.
Lighting Adjustments
Lighting is crucial for every photography style and genre, and portrait photography is no exception. Pay attention to lighting adjustments when you edit portrait photos. Enhancing highlights and softening shadows can bring depth and dimension.
Subtle dodging and burning can emphasize your model’s features, ensuring properly balanced exposure. Use a soft brush at low opacity to carefully lighten areas like cheekbones and darken shadows around the jawline. This approach sculpts the face and emphasizes its natural contours.
Texture Enhancements
Slightly sharpening the eyes and defining the lips can help you naturally guide the viewer’s eye to the composition’s core. High-pass sharpening is particularly effective for this task. This technique involves applying a high pass filter to a duplicated layer and setting its blend mode to “Overlay.” By masking out areas like the skin, you can sharpen details selectively, keeping the focus on the portrait’s most striking elements.
Workflow Control
Utilize layers and selective adjustment masks in your face editor. Fine-tune individual areas of the portrait without permanently altering the base layer. The non-destructive picture enhancement approach will let you revisit and refine your adjustments while keeping the original photo untouched. Zoom out periodically to ensure the edits look natural from a distance.
If you frequently work on portraits, creating custom presets tailored to your style can save time and maintain consistency. These presets can include specific adjustments for smoothing skin tones, enhancing textures, and refining colors. Saving presets and using batch processing tools can help you replicate similar results across multiple projects to achieve consistency. It is especially convenient for professional photographers processing large amounts of files simultaneously.
Common Mistakes and How to Avoid Them
Oversmoothing
Eliminating natural textures like pores and fine lines leads to a plastic and overly airbrushed look. Apply the tools precisely and adjust the brushes’ opacity level in your skin editor to prevent it. When skin texture is lost during editing, reintroduce it with a subtle texture overlay. High-resolution skin texture files can be layered over the portrait and blended with a low-opacity setting to mimic realistic pores and fine details.
Excessive Brightening
Overexposing areas like the forehead or cheeks can make the face appear unnatural. Always review the lighting balance to avoid harsh contrasts. Apply techniques like dodging and burning cautiously; they should complement your main subject, not overpower it.
Neglecting Color Accuracy
A slight yellow or red tint can make the subject look unnatural. Pay attention to color calibration and use adjustment layers to fine-tune skin tones. If you use automatic or AI-based photo editors, double-check results and refine them manually according to the environment.
Eliminating Individuality
Enhance your subject’s “perfect imperfections” instead of altering or erasing them. Retain freckles or subtle wrinkles that add character. These details can make a portrait unique, emotionally evocative, and memorable.
Conclusion
Whether your smooth skin tones, enhance facial features, or use advanced techniques like frequency separation and high pass sharpening, the goal of effective portrait retouching is to enhance the model’s natural beauty without permanently altering and overshadowing it. The portrait editing tips shared in this guide will let you avoid common pitfalls and produce cohesive and polished images without compromising their authentic appeal.

